Angel Nails Are the SOFT-GIRL Aesthetic You Need This Fall
Are you wondering which is the best nail design for you this fall ? The nail ideas are endless and this one here is one of the most romantic design I know. Angel nail design will give you the best vibe.
These nails are taking over this fall, bringing that dreamy soft-girl energy to every manicure. Make sure you’re not left out. I told my sister about them yesterday and she has been singing praise about them.
These nails are naturally beautiful with a lovely sheer pink color plus pearly glow fitting well with most outfits. I’ve detailed the best names here to make it easy for you to pick the best style that you’ll admire.
12 Angel Nails Ideas for this Fall
Here, you’ll find a few detailed nail ideas that I’ve listed and explained in an easy way. You’ll also get some pro tips to help you design you master the art of nails in the best way possible. Come with me.
Celestial Chrome
Coat your nails in a deep plum cream. Then, press a silver chrome powder onto the nail to create a brilliant, otherworldly shine.
Pro tip: For maximum metallic impact, always apply the chrome powder over a completely dry, no-wipe gel top coat.
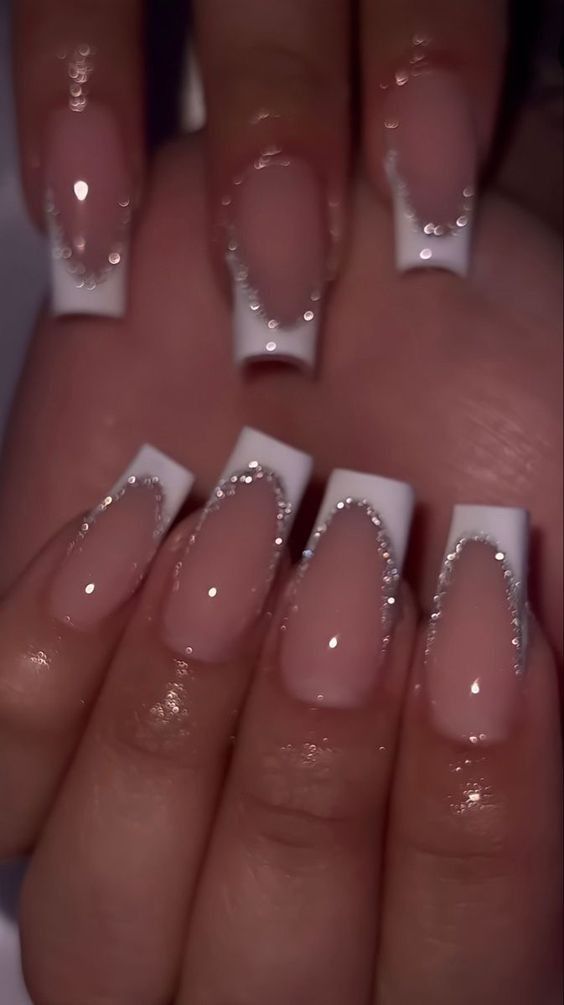
Glittering Halos
Paint a milky white base on your nails. Then, use a thin brush to circle your cuticles with a line of fine gold glitter, forming a delicate halo on each nail.
Pro tip: Use a dotting tool to place the glitter precisely, which gives you more control than a brush for such a fine, circular line.
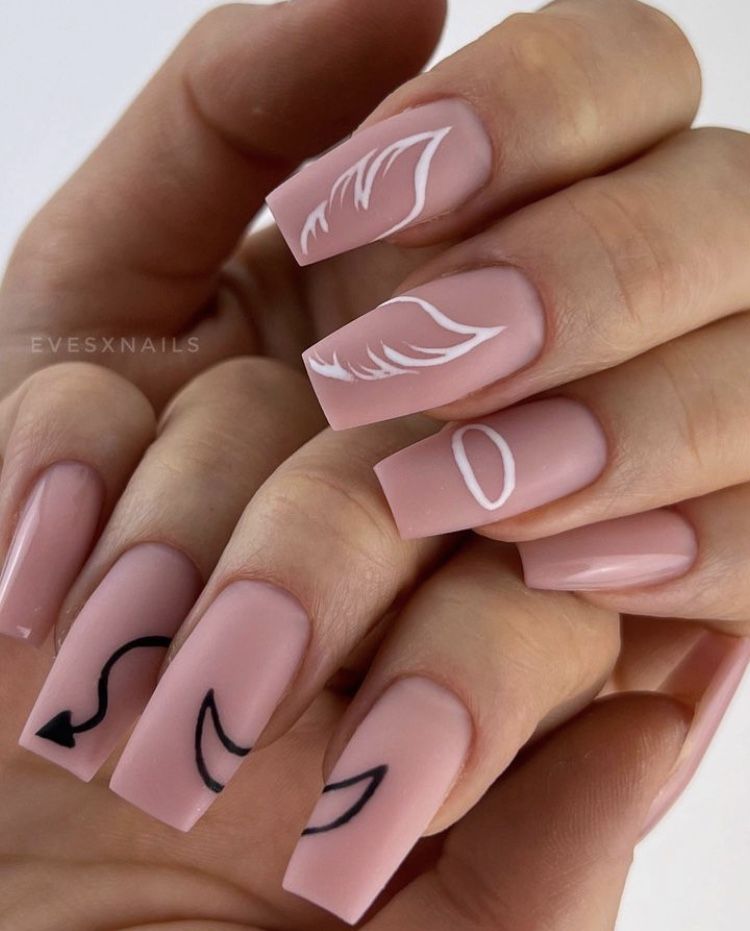
Feathered Wing Accents
Apply a soft, matte grey polish as your background. With a detail brush, paint the delicate lines of an angel’s wing stretching across your accent nail.
Pro tip: Look up a reference image of a dove’s wing on your phone and use a striping brush to recreate the feathery strokes.
Starburst French Tips
Reinvent the French manicure. Instead of a white line, paint the tips with a shimmery, opal polish. Then, use a dotting tool to radiate tiny gold lines from the tip, creating a starburst effect.
Pro tip: Create the starburst lines by dragging a small dot of polish back towards your cuticle, which makes a clean, sharp point.
Holographic Cloudscapes
Cover your nails in a linear holographic polish that shifts between blue and violet. Then, lightly dab white polish onto the surface to form soft, ethereal clouds.
Pro tip: Use a makeup sponge to dab on the white polish; this technique creates a softer, more diffused cloud effect than a brush.
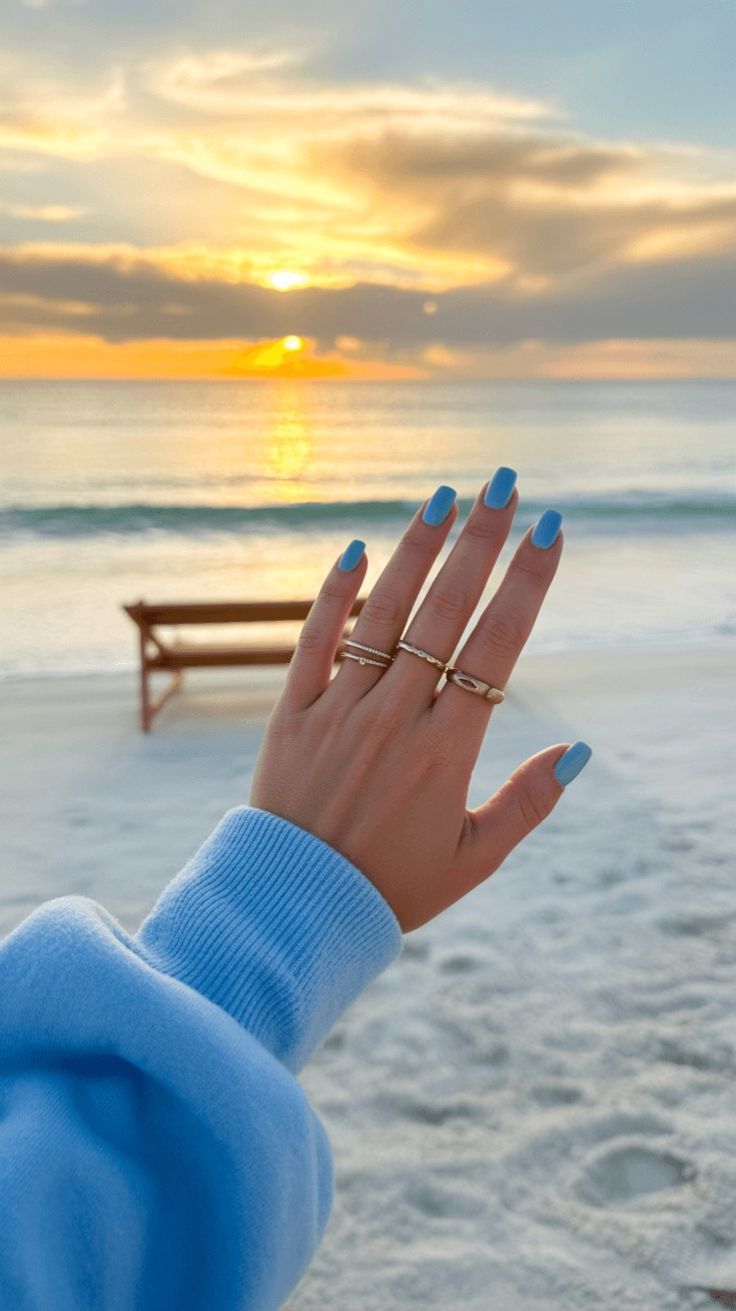
Pearl-Encrusted Crescents
Paint your nails a dusty, celestial blue. At the base of each nail, arrange a cluster of tiny iridescent pearls into a perfect crescent moon shape.
Pro tip: Use a pair of tweezers dipped in rubbing alcohol to easily pick up and place each tiny pearl with precision.
Metallic Marble Swirls
Drop pools of opaque white and shimmering gold polish into a water cup. Then, dip your nail into the mixture to transfer the swirling, metallic marble pattern onto your nail bed.
Pro tip: Spray a little bit of hand sanitizer over the water surface; it will help push the polish into tighter, more intricate swirls.
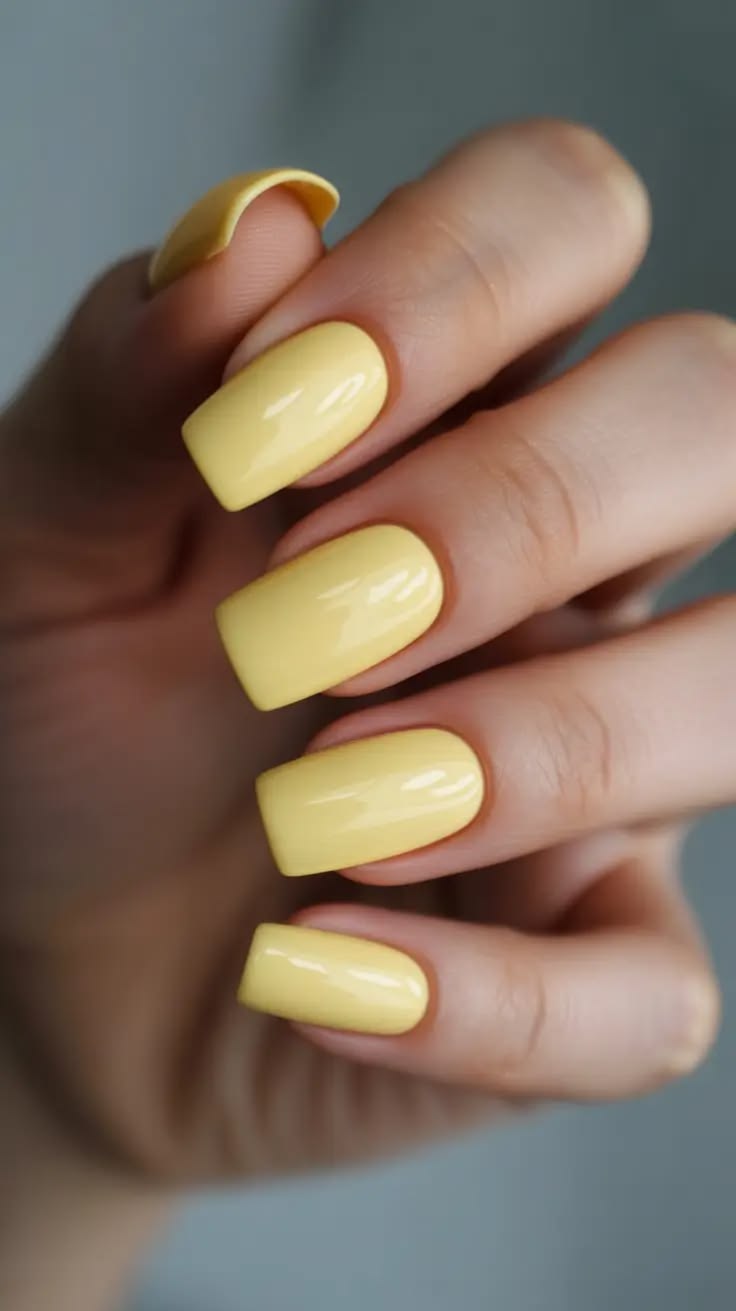
Glowing Lanterns
Create a dark, navy blue background. Paint the outline of a small, glowing lantern on your ring finger. Fill the lantern with a bright, warm yellow polish to make it shine against the night sky.
Pro tip: Use a yellow-orange gradient inside the lantern to create a more realistic, warm glow effect.
Angel Number Etchings
Choose a neutral, sandy beige for your base color. Using a striper brush, neatly write a significant number, like 111 or 444, in a glossy black finish for a personalized, angelic message.
Pro tip: Practice writing the numbers on a plastic zip-top bag first until you feel confident in your stroke consistency.
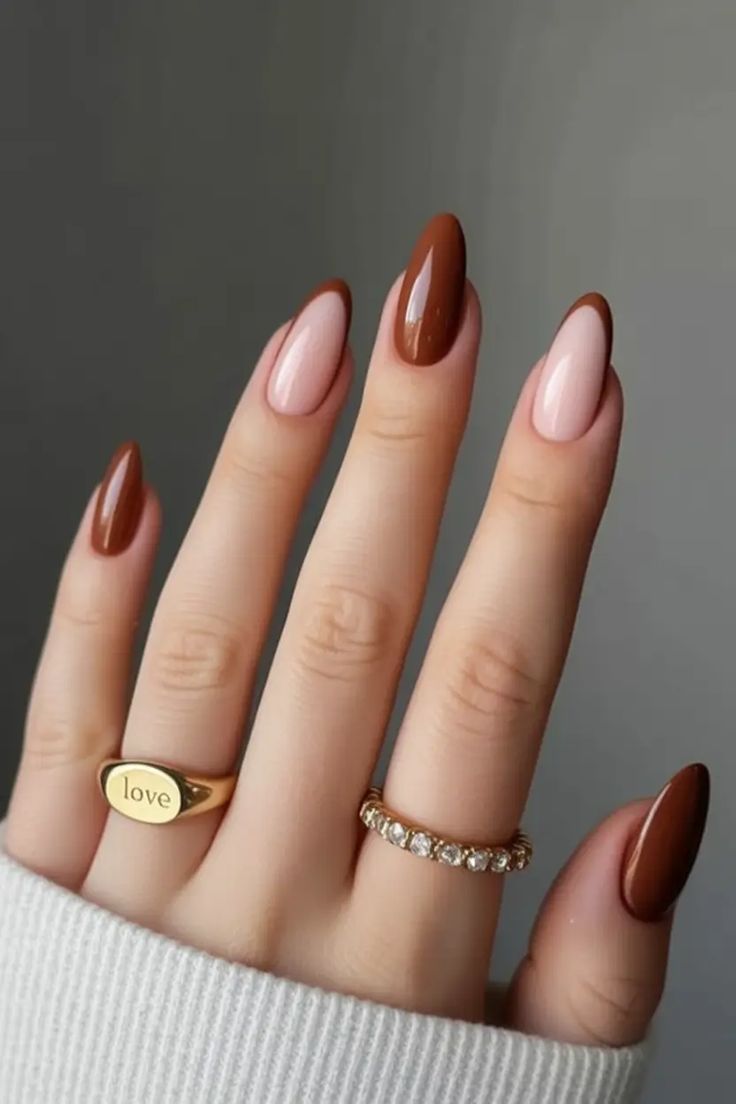
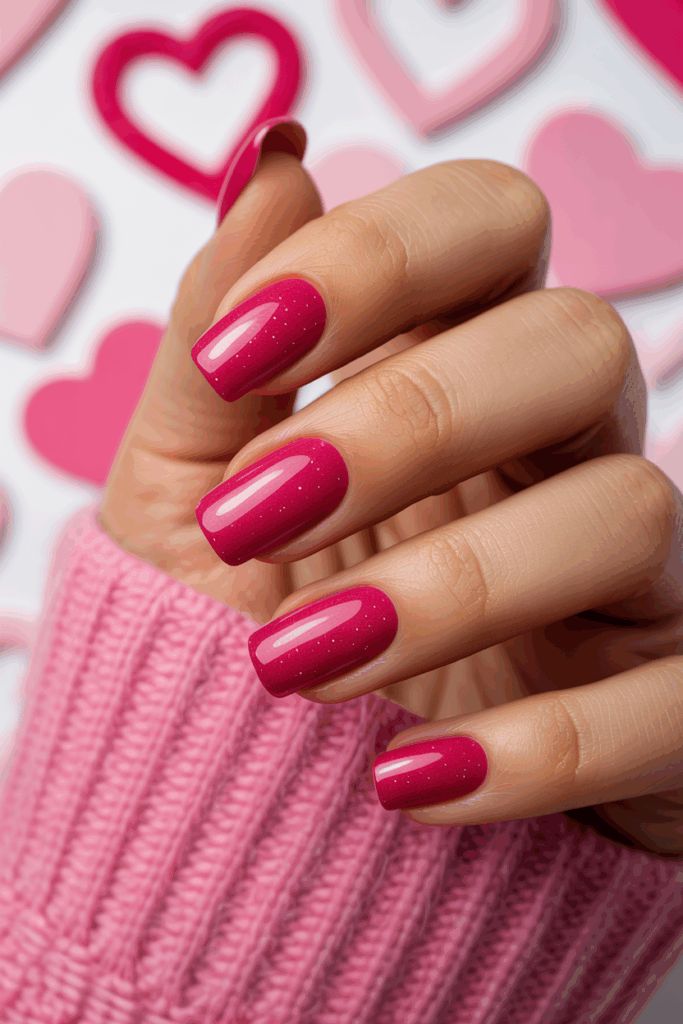
Velvet Ribbon Details
Apply a rich, burgundy cream polish. Then, paint a thin, black satin bow on your accent nail, making the ribbon look like it rests on the surface of the nail.
Pro tip: Use a matte top coat only over the burgundy base, but leave the glossy black bow shiny to enhance the velvet ribbon contrast.
Gilded Leaf Fallout
Paint your nails a sheer, glossy nude. Then, carefully place tiny, gold foil leaf flakes onto the wet polish, letting them look like they are gently falling down the nail.
Pro tip: Press the foil onto the nail with a dry, fluffy eyeshadow brush for a perfectly scattered and natural distribution.
Constellation Maps
Create a deep, matte black base to represent the night sky. Use a fine dotting tool to connect tiny white specks into the shapes of constellations, like Orion or Cassiopeia.
Pro tip: Apply a glossy top coat only over the constellation lines to make them look like they are twinkling against the matte sky.
Iridescent Aurora
Brush a gradient of dark green to black onto your nails. Then, lightly drag a sheer, shifting iridescent glitter over the surface to mimic the flowing lights of the aurora borealis.
Pro tip: Use a fan brush to lightly dust the glitter polish over the gradient; this creates the wispy, atmospheric bands of an aurora.
How to Make Angel Nails at Home
You can easily create angel nails at home with these simple steps:
-
Clean and shape your nails
Wash your hands, remove old polish, and file your nails into your preferred shape for a smooth base. -
Apply a protective base coat
This layer keeps your nails healthy and helps the polish stick better. -
Choose a soft polish color
Use shades like pearly white, nude pink, or light beige to get that angelic glow. -
Add shimmer or iridescent polish
Apply a thin layer of shimmer to give your nails a radiant, glowing finish. -
Seal with a glossy top coat
Finish with a shiny top coat to lock in color, prevent chips, and boost the glow. -
Moisturize your hands and cuticles
Massage cuticle oil or hand cream to keep your nails looking healthy and hydrated.
Conclusion
Angel nails bring a soft, radiant glow that never goes out of style. They add elegance, calm, and a touch of magic to any look. The pearly tones and glossy finish make hands look fresh, clean, and graceful
FAQs: Angel Nails
What are angel nails?
Angel nails use soft, dreamy shades like pearly white, nude pink, or shimmer polish to create a glowing look. They deliver a heavenly, elegant finish that feels clean and timeless. This design brings out a delicate beauty that shines in every light.
How can I create angel nails at home?
Apply a sheer base color and layer a soft shimmer polish on top. Seal it with a glossy top coat to enhance the shine. Keep the colors light and smooth to achieve that ethereal effect.
What colors work best for angel nails?
Choose shades like pearl white, baby pink, or soft blue for a radiant glow. Add chrome or holographic polish to reflect more light. These tones create a luminous look that fits every mood and season.
Are angel nails suitable for all nail lengths?
Angel nails flatter both short and long nails with their soft glow and simple finish. They enhance any nail shape by adding elegance and light reflection. The subtle design keeps your nails looking fresh and polished.
How long do angel nails last?
Angel nails stay glossy and neat for up to two weeks with good care. Apply a top coat every few days to keep the shine intact. Moisturize your hands regularly to preserve that fresh, angelic glow.