10 Easy DIY Nail Art Ideas to Try at Home for a Salon-Perfect Look
I love trying new DIY nail art ideas at home because they let me get creative while saving money.
With the right ideas, a little patience, and your favorite polishes, you can create nails that look fresh from the salon and perfectly capture your exact mood.
Last year, my sister and I did orange nails together, and now I can do them myself. With these tips I’ve prepared for you, I’m sure you’ll find it easy to create your favorite design.
Essential Tools and Ingredients for DIY Nail Art
When I create my own nail art at home, I always make sure I have the right tools ready. These simple items help me get clean lines, smooth polish, and fun designs that look professional.
-
Base coat: Protects your nails and helps the polish stick better.
-
Top coat: Seals your design and adds shine.
-
Nail polish: Choose a few of your favorite colors to mix and match.
-
Nail file and buffer: Shape and smooth your nails before painting.
-
Dotting tool or bobby pin: Helps create dots, flowers, or other small patterns.
-
Thin nail art brush: Perfect for stripes, lines, or detailed work.
-
Tape or stencils: Helps create clean edges and geometric shapes.
-
Cotton swabs and nail polish remover: Useful for cleaning up edges and small mistakes.
-
Cuticle oil: Keeps your nails healthy and hydrated after painting.
SEE THIS: Short Square Fall Nails Are Trending – Here’s Why Everyone Wants Them
DIY Nail Art Ideas You Can Try at Home
Polka Dot Nails
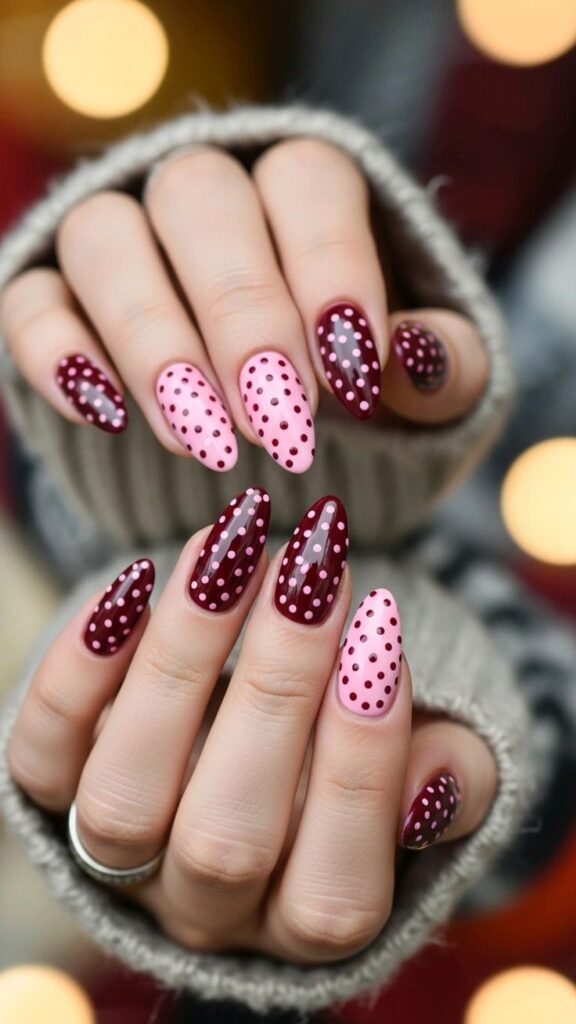
Polka dots always bring a playful and charming touch. A mix of bright and neutral colors gives your nails a fun contrast that feels lighthearted. Many love this design because it’s simple yet full of personality. It takes just minutes to do and suits any nail length.
Expert Tip: Use a bobby pin or toothpick to make even, round dots easily.
Striped Accent Nails
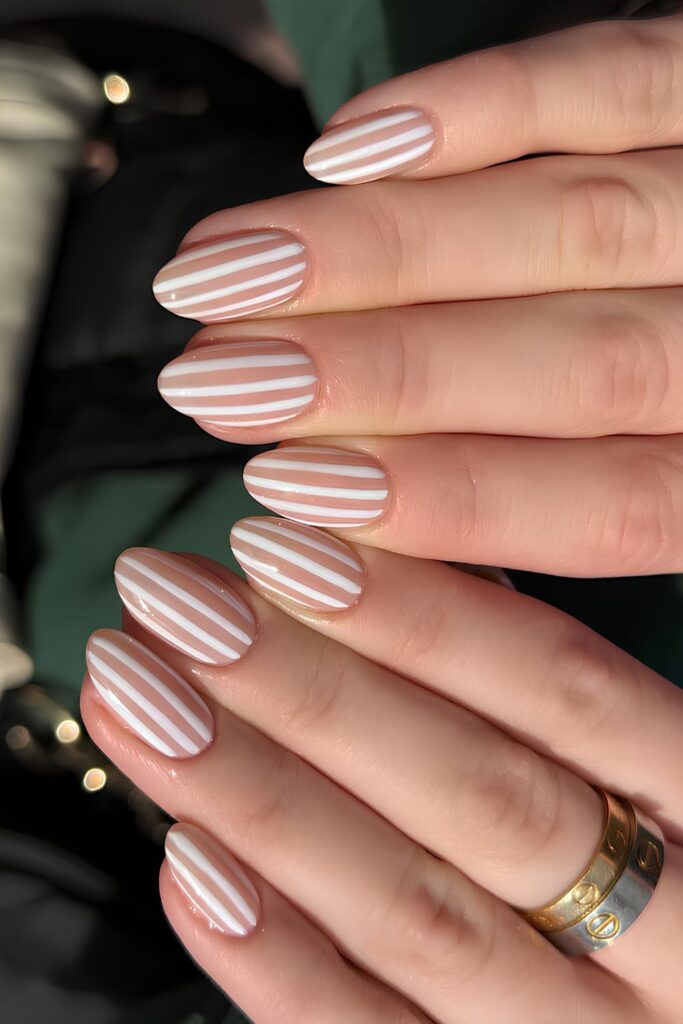
Stripes instantly make nails look more polished. Thin or thick lines in different directions add variety and movement to your manicure. Try soft pastel shades for a clean finish or bold colors for a stronger statement. The pattern looks professional but takes very little effort.
Expert Tip: Apply tape to create straight, crisp lines before adding polish.
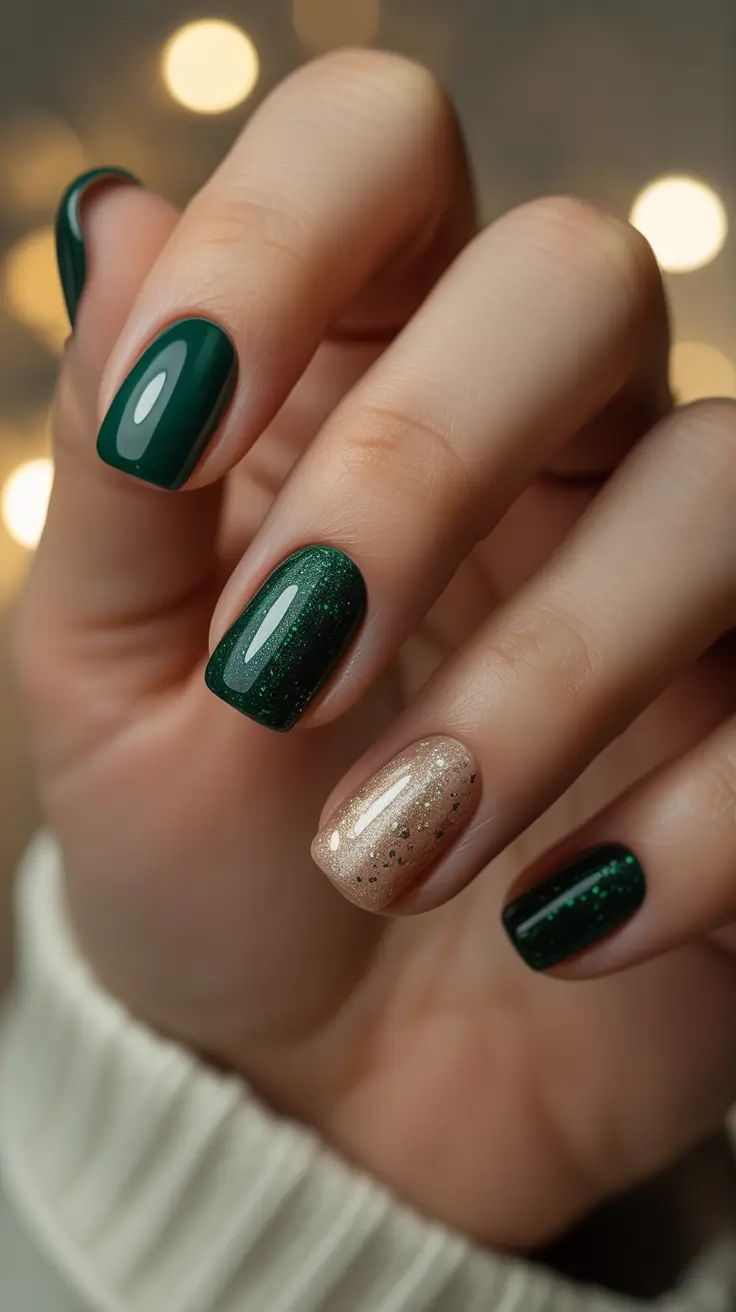
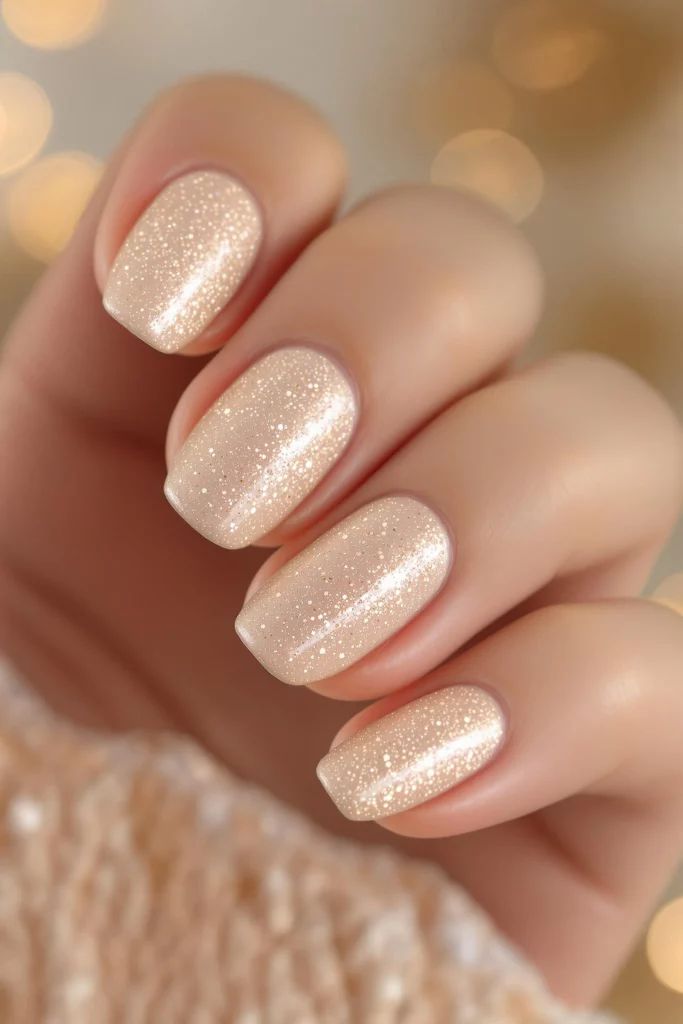
Glitter Fade Nails
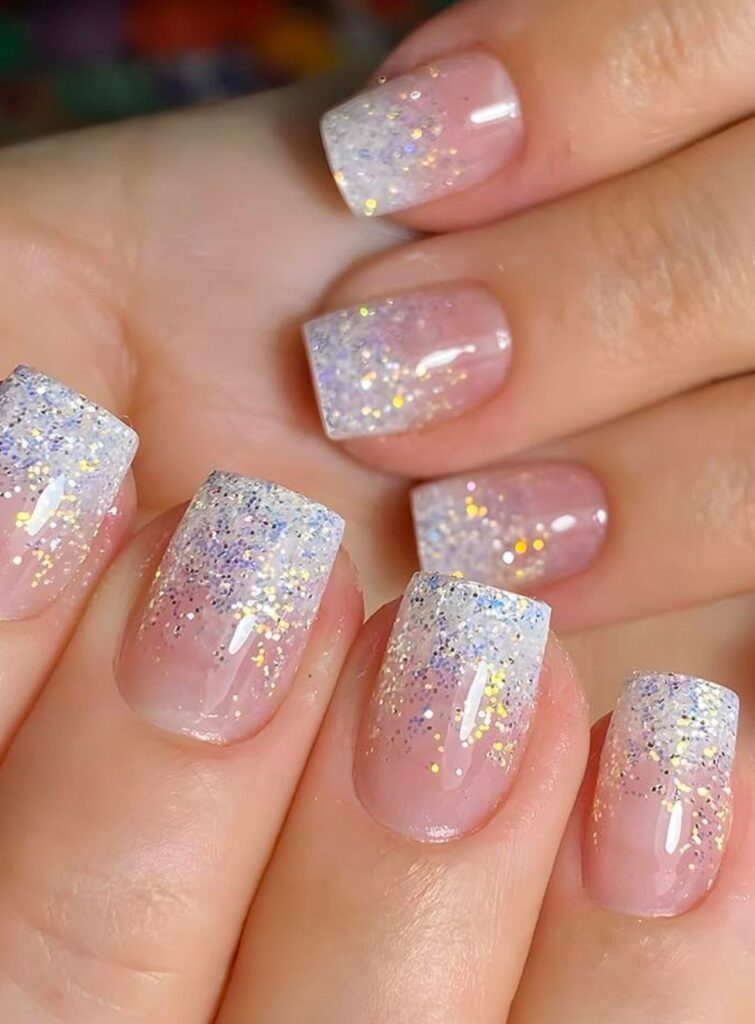
This look blends elegance with sparkle. Apply glitter near the tips and fade it downward for a smooth, shining gradient. The design works beautifully for both daily wear and special occasions. It’s one of the easiest ways to give your nails a glamorous finish.
Expert Tip: Dab the glitter on gently with a sponge for an even fade.
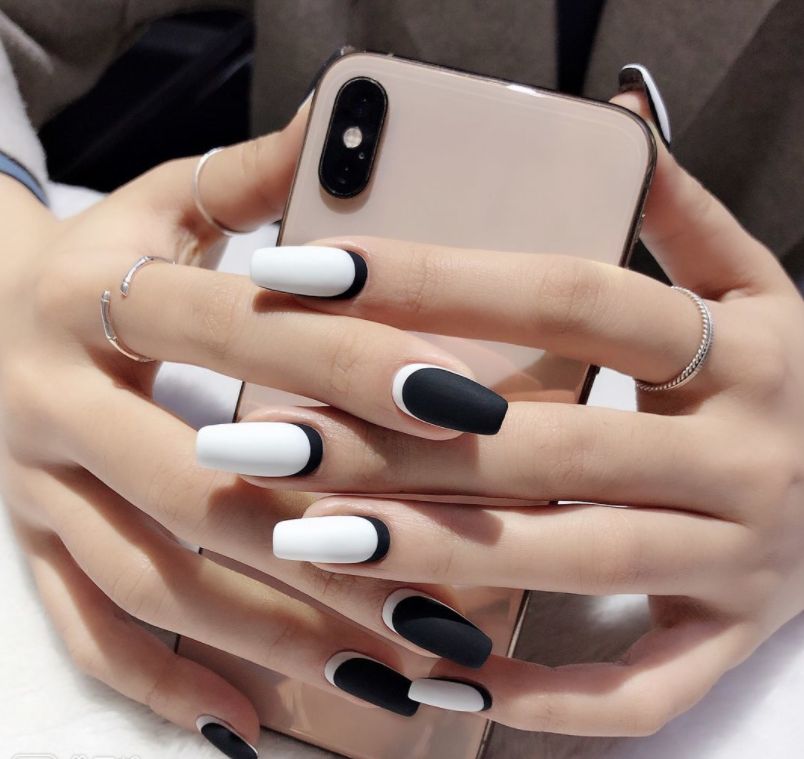
Two-Tone Color Block Nails
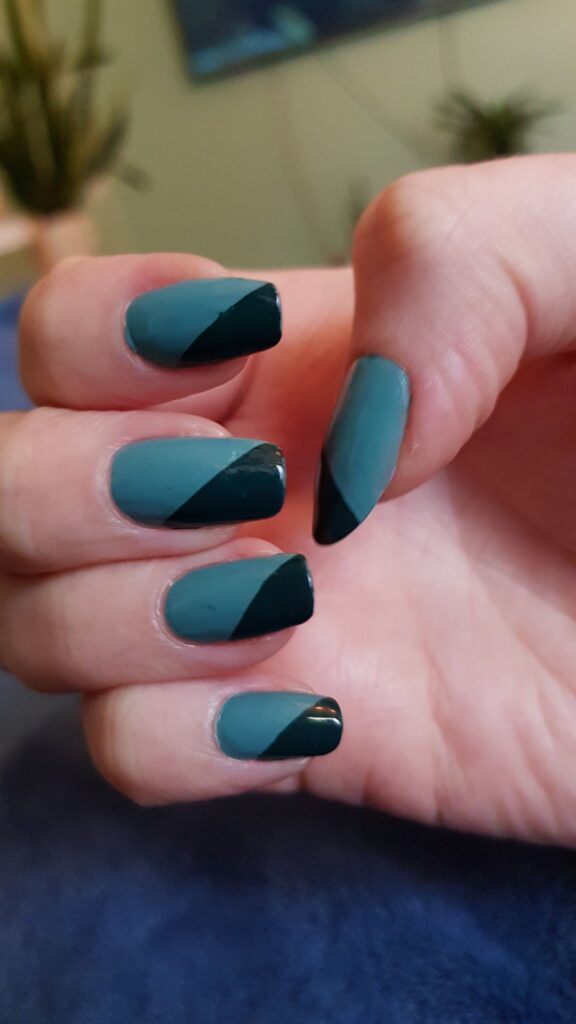
Color blocking brings contrast and creativity to your manicure. Choose two shades that complement each other for a striking effect. Many enjoy this look because it’s bold without being complicated. The result feels trendy and fresh every time.
Expert Tip: Use nail tape between sections for neat color separation.
Simple Floral Nails
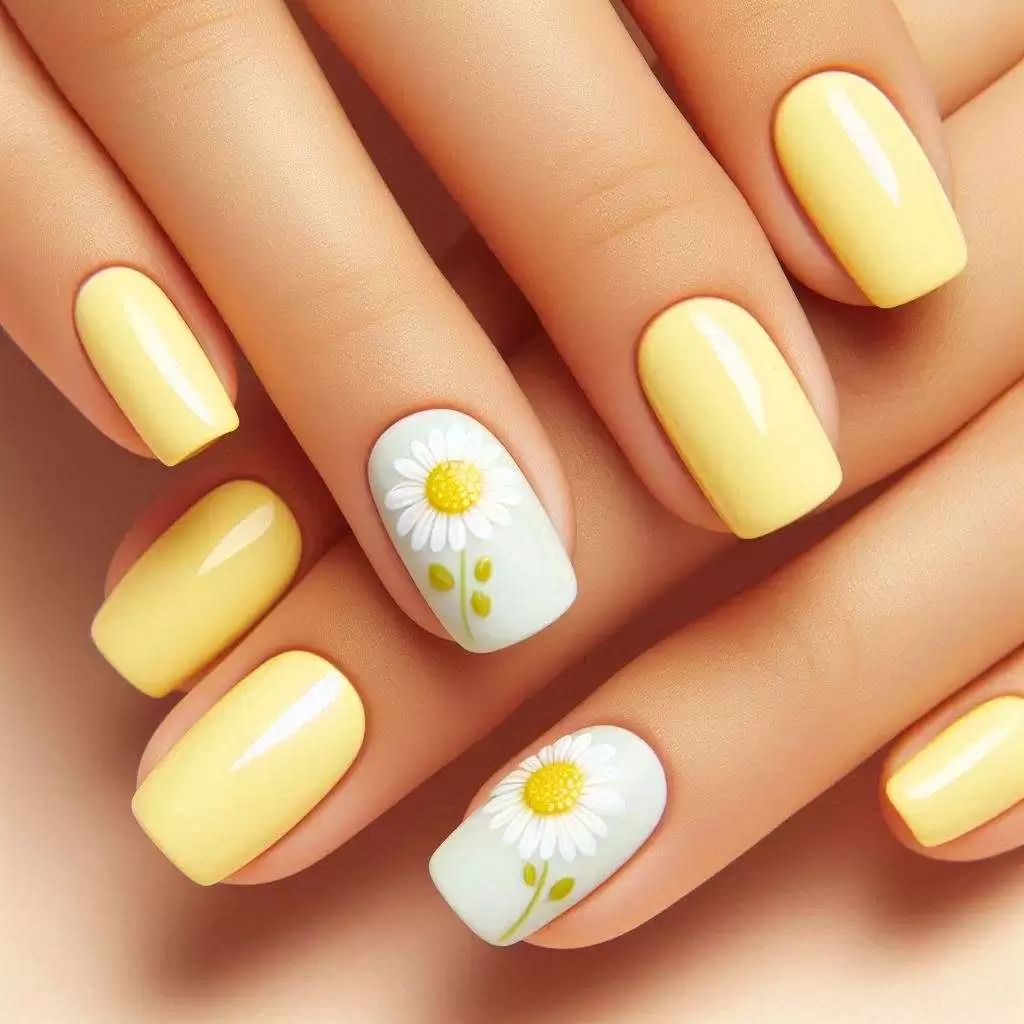
Flowers never go out of style, especially in nail art. Small blooms in pastel or white polish create a delicate, feminine design. It’s an easy way to add charm to your nails without overdoing it. Perfect for spring or any day you want something soft and pretty.
Expert Tip: Dot five small circles for petals, then finish with a dot of yellow or gold in the center.
Minimalist Line Art Nails
Clean, simple lines can look as striking as complex designs. A single thin line across each nail adds modern sophistication. This look fits perfectly with minimalist fashion trends. It’s stylish, easy to maintain, and always in season.
Expert Tip: Use a fine detail brush or nail pen for sharp, steady lines.
Gradient Sponge Nails
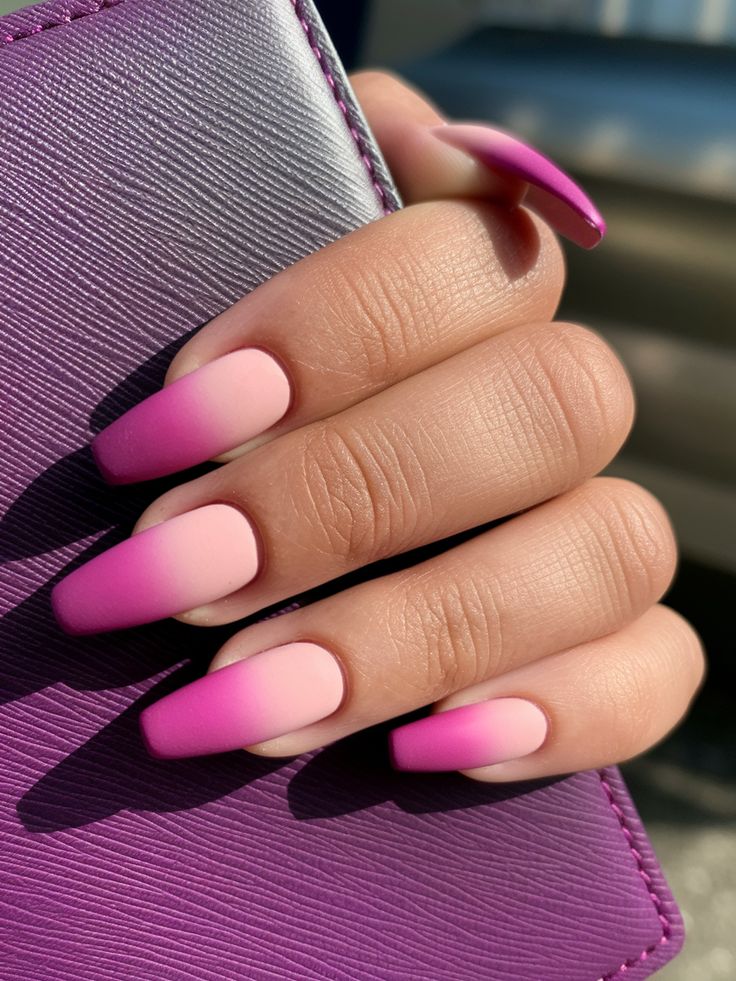
Gradient nails offer a soft blend of colors that feel smooth and creative. They look impressive but are simple to achieve using a makeup sponge. Choose shades in the same color family for a dreamy effect. This design adds depth and flow to your manicure.
Expert Tip: Pat the colors onto your nails in layers to blend them seamlessly.
Heart Accent Nails
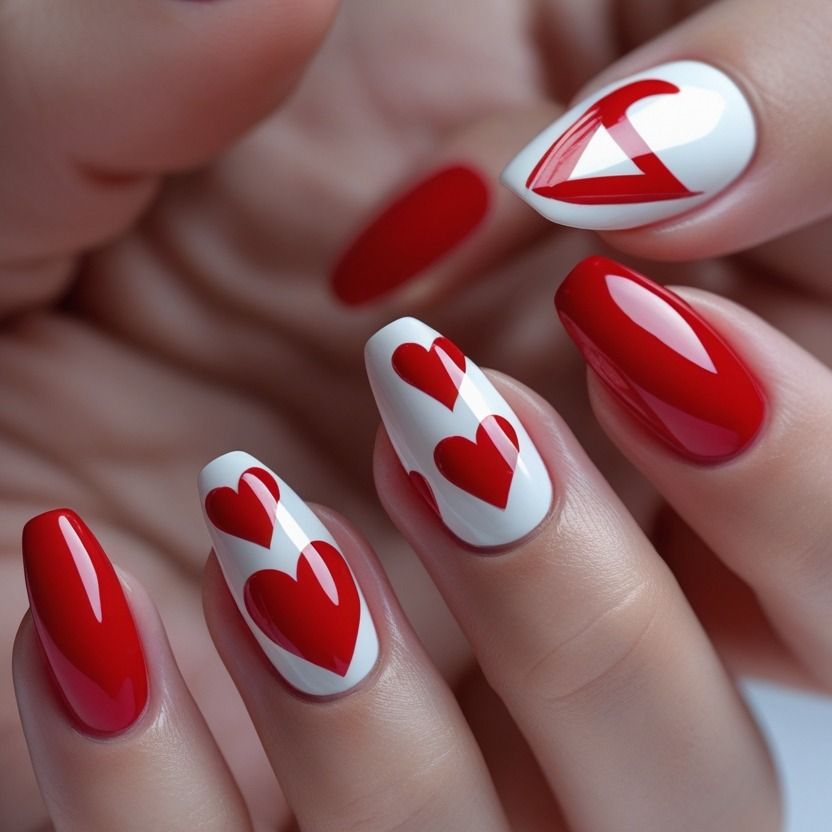
Hearts add a touch of sweetness to any manicure. Paint one or two nails with a small heart to make them stand out. This cute detail looks great in soft pink, red, or even gold. It’s a timeless design that always draws compliments.
Expert Tip: Use a toothpick to form two small dots, then drag them together into a heart shape.
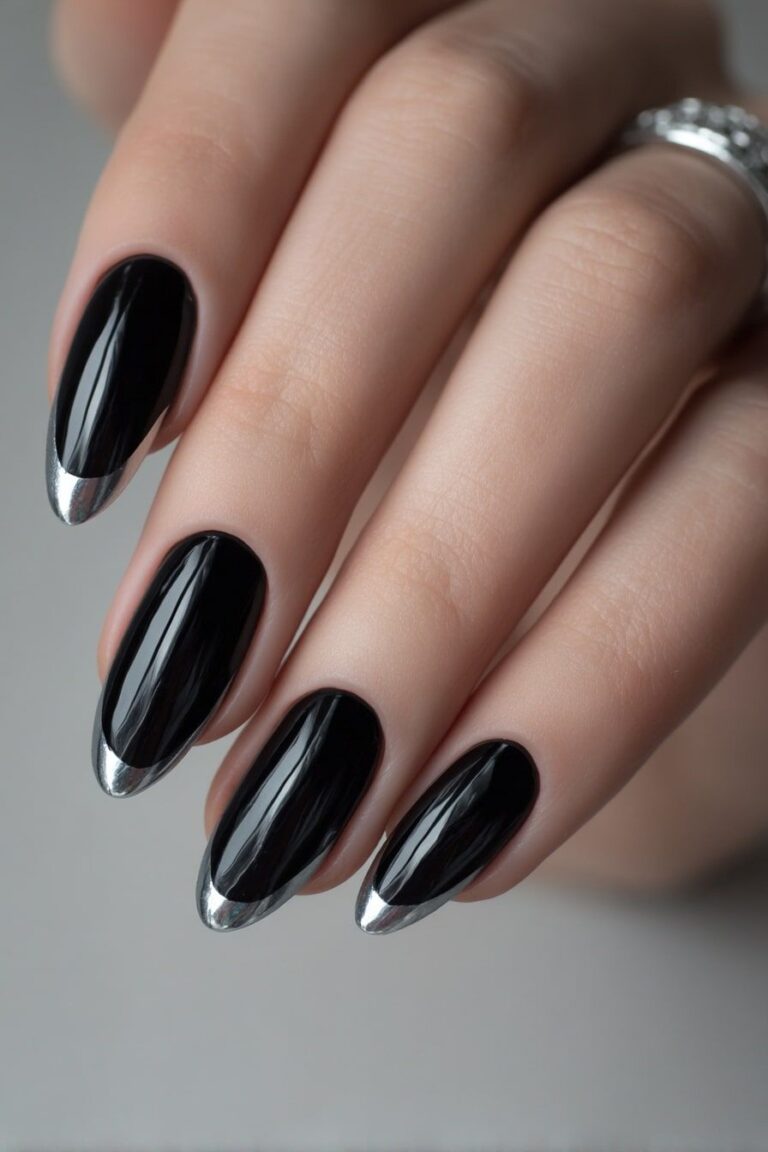
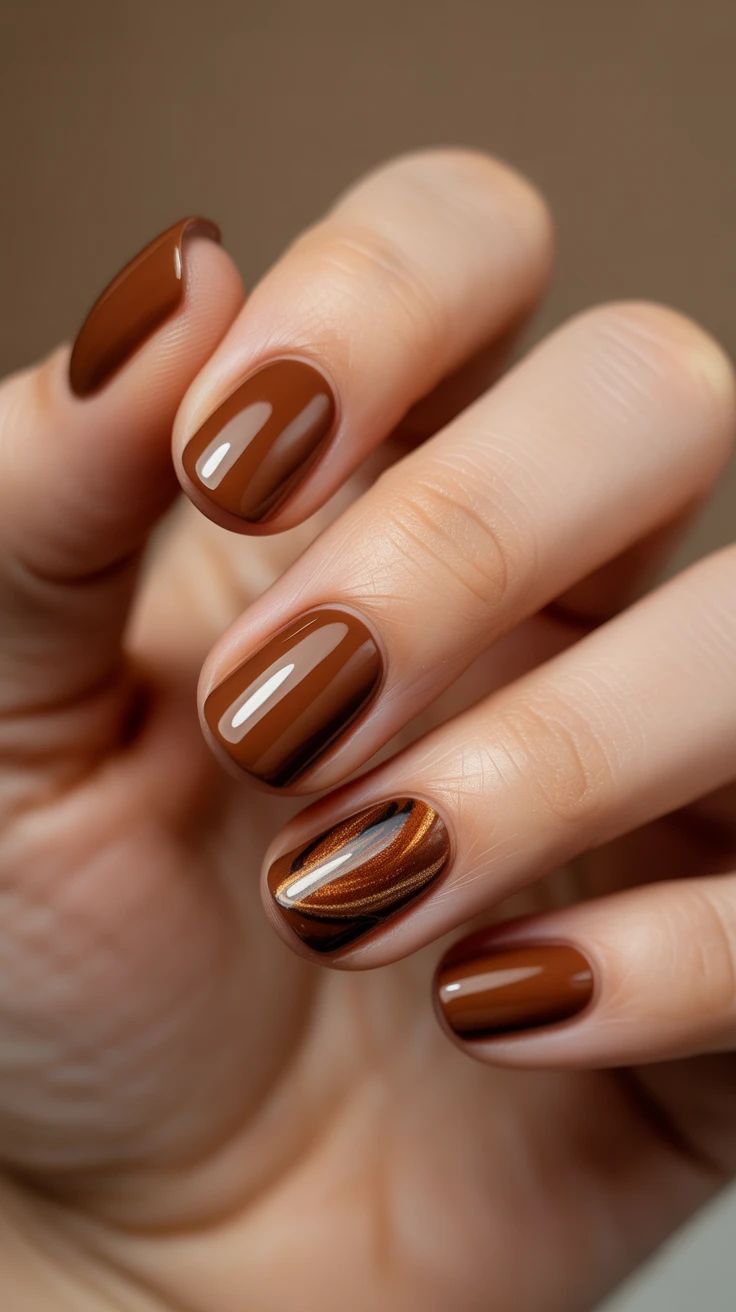
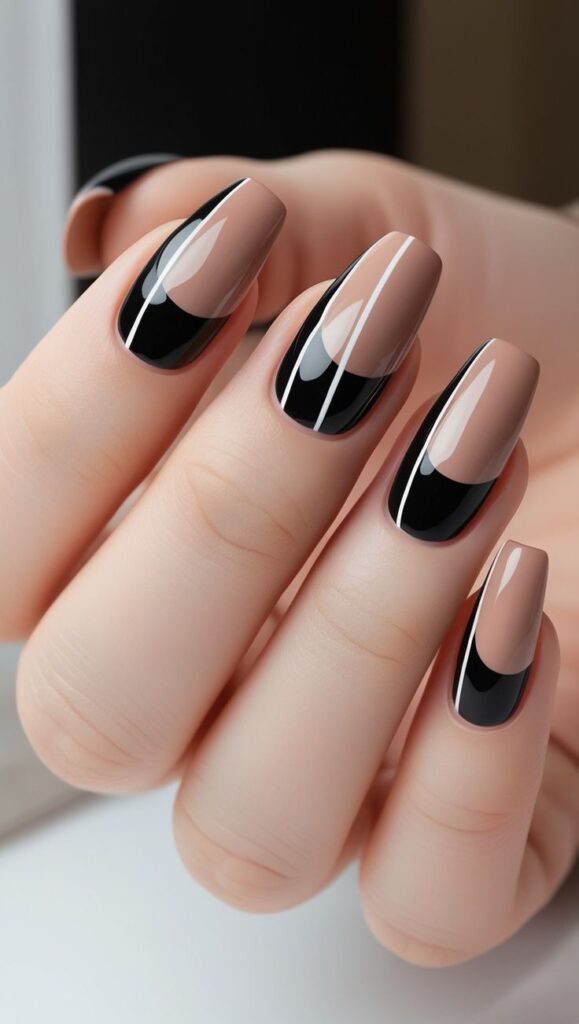
Metallic Tip Nails
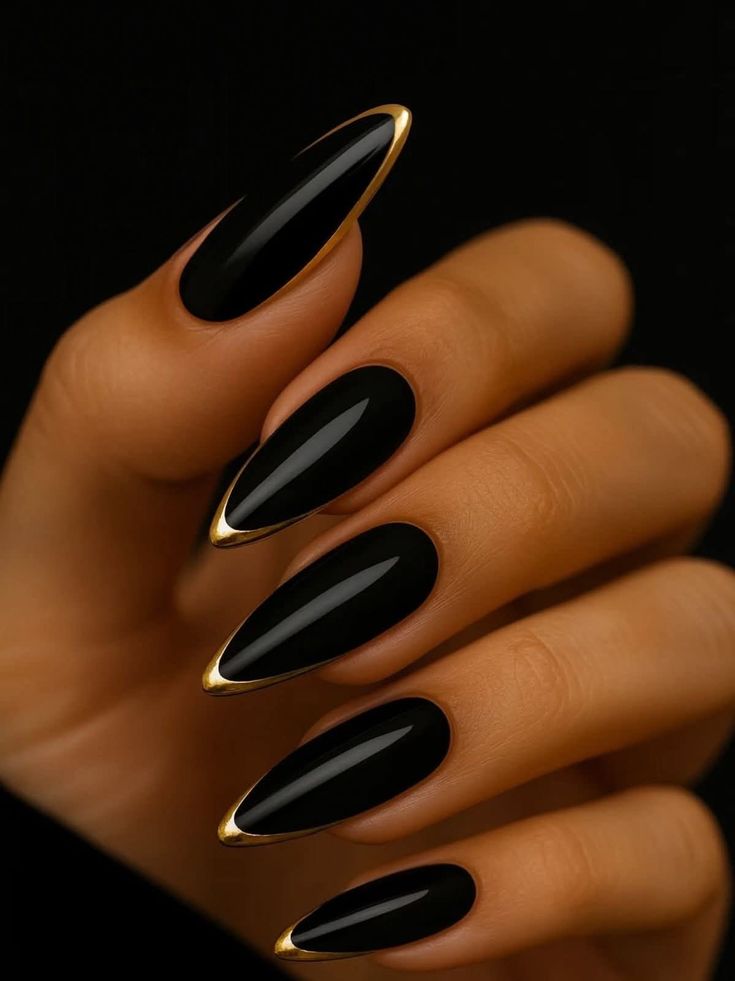
Metallic tips bring a modern twist to the classic French style. The shiny edges add just enough sparkle for a chic finish. This design matches perfectly with both casual and dressy looks. It’s subtle but makes your nails look instantly polished.
Expert Tip: Apply metallic polish only to the tips, then seal with a clear top coat for durability.
Negative Space Nails
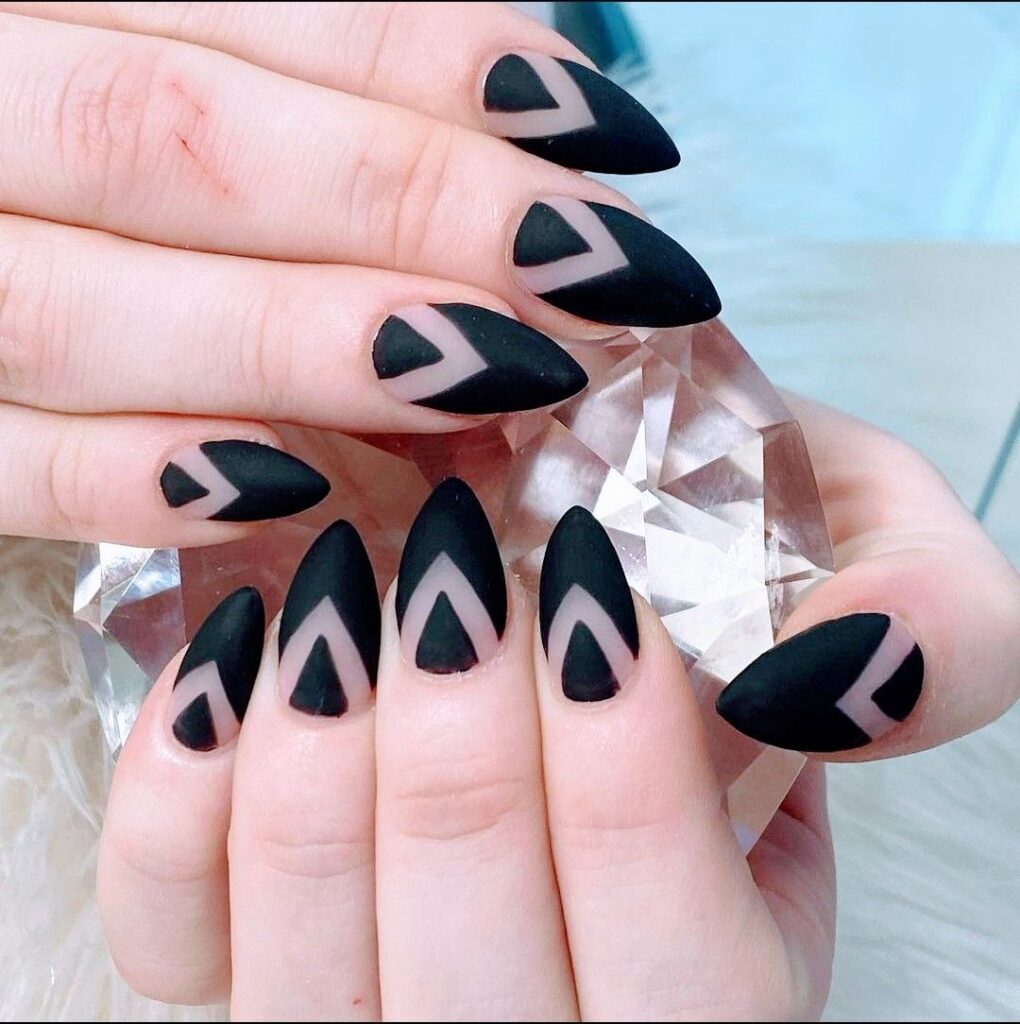
Leaving parts of your nails unpainted gives a creative, airy look. The mix of bare and colored sections makes your design stand out. It’s minimal yet full of personality, loved by those who prefer understated elegance. The style works well with geometric shapes or soft curves.
Expert Tip: Use tape or stencils to keep the negative areas clean and defined.
SEE THIS: These Almond Fall Nails Are Taking Over 2025 – See Why
Conclusion
DIY nail art brings freedom, fun, and creativity right to your home. Each of these designs helps you express your personality without needing a salon visit. From soft florals to glitter fades, there’s a look for every mood and occasion. Try a few styles, experiment with colors, and make your nails your favorite form of self-expression.
How to Remove DIY Nail Art at Home
When it is time for a fresh look, removing your nail art at home feels simple and gentle if you do it the right way. Here is how I do it without damaging my nails.
-
Gather your supplies: You need cotton balls, nail polish remover, aluminum foil, and a cuticle stick.
-
Soak the cotton: Dip each cotton ball in nail polish remover until it is fully wet.
-
Wrap your nails: Place a soaked cotton ball on each nail and wrap it with a small piece of foil. Let it sit for about ten minutes.
-
Remove the foil: Gently pull off the foil and cotton. Most of the polish will lift easily.
-
Clean your nails: Use a cuticle stick to remove any leftover polish.
-
Moisturize: Wash your hands and apply cuticle oil or lotion to keep your nails healthy and soft.
FAQs: DIY Nail Art Ideas
What Do I Need to Start Doing DIY Nail Art?
You need a few basics to start. Gather nail polish, a base coat, a top coat, and simple tools like dotting sticks or small brushes. You can also use bobby pins or toothpicks to create fun patterns.
How Can I Make My DIY Nail Art Look Neat?
Start with clean and trimmed nails. Apply thin layers of polish and use tape or stencils to get straight lines. Finish with a top coat to give your nails a smooth and shiny look.
Which Nail Art Designs Work Best for Beginners?
Try simple designs like dots, stripes, or one accent nail. These designs help you build confidence and still look beautiful without much effort.
How Long Does DIY Nail Art Last?
When you apply a good base coat and top coat, your nail art can stay fresh for about a week. Add a new layer of top coat every few days to keep your nails shiny.
Can I Create Nail Art Without Expensive Tools?
Yes, you can. Use things around your home like tape, sponges, or cotton swabs to make creative and unique designs that look salon-worthy.